Adding an Android SDK
A software development kit (SDK) provides a set of files that are used to build applications for a target platform. When you develop applications for Android, the Android SDK and Android NDK are required on your development system, and they both need to be known to the SDK Manager.
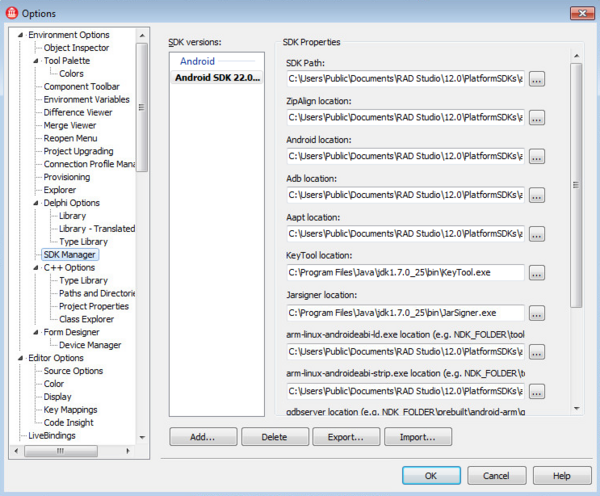
When you install RAD Studio, the installer gives you the option of installing the recommended versions of the Android SDK and NDK. If you install these recommended versions during product installation , the SDK Manager detects their presence and sets the default paths and locations for you, as shown in this screenshot:
In this case, when the recommended versions of the Android SDK and NDK are installed by default, you do not need to add an Android SDK, because the default location is known to the SDK Manager, and so the libraries are automatically detected.
If you want to install the Android SDK and NDK yourself, even in alternate locations, or if you want to use an existing installation of the Android SDK and NDK, you must add your Android SDK to the RAD Studio SDK Manager. See Installing the Android Development Tools if you do not have the Android SDK or NDK installed yet and you want to install them yourself.
- Caution: Versions of the Android SDK and NDK libraries that differ from those installed with RAD Studio might not work as expected.
To add an Android SDK to RAD Studio:
- Select Tools > Options > Environment Options > SDK Manager.
- Click the Add button.
- On the Add a New SDK dialog box, select Android from the Select a platform drop-down list.
- RAD Studio detects the Android SDKs installed in your system and populates the Select an SDK version drop-down list for you.
- Select an SDK from the Select an SDK version drop-down list. For details and troubleshooting, see SDK Manager.
- Check Make the selected SDK active if you want the new SDK to be the default SDK for Android.
- Click OK to continue. The Create a New Android SDK wizard opens.
- In the Android NDK Base path field on the first page of the wizard, enter the path to your installed NDK folder, and click Next.
- On the next page, wait for RAD Studio to automatically detect the paths of the required tools, and then click Finish.
Your Android SDK version is now listed in the SDK Manager:

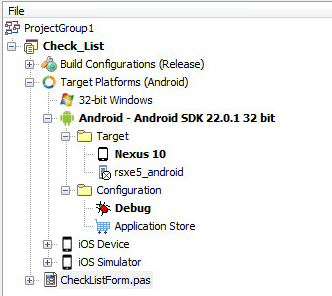
The Android SDK version should now be included in your Android target platform in the Project Manager: